Tuesday, September 30, 2014

Crabtree Falls

Last Saturday, we had an adventure. We hiked Crabtree Falls, and we brought Lola with us. She loved the hike. She loved the people and the other dogs and being outside and the new smells. She did not love the windy drive up the mountain to the trailhead (read: there were a few dog-barfs). 

It was a beautiful fall day -- perfect for hiking. And the hike was a good one, too. It was 3.4 miles to the top and back, but it was a little bit steep and kind of rocky. Definitely a good half-day hike. 


Suns out, guns out.


Lola wanted in on the selfies. 

Per the many warnings posted at the trail head and along the trail, we learned that 23 people have died on these falls. (The hike itself is not dangerous -- it's the climbing out on the slippery rocks that is where the danger lies.) These wind chimes were placed as a memorial for one of those people. 


A pretty fall leaf, some rock stacks (I've read that these are called "ducks"), and my two loves. 

More fascination with the phone.

One section of the falls on the hike to the top. I really liked that the trail follows close to the falls for about the first half mile or so.


The view from the top!
I got this crazy picture from a messed up panorama shot. Just some rock face and some tree lines. 

Oh yeah, on the way there, my dusty, little Saturn turned 200,000 miles! What! 


Wednesday, September 17, 2014

Countertop Sealing

It's a good thing that Richard knows so many things about general home maintenance. A couple weekends ago, he informed me that he would be resealing our kitchen counter tops because that needs to be done every year or so. 

Good thing he knows that. "Granite countertop maintenance" falls into the long list of things that had never crossed my mind. 

So, he cleared everything off of the countertops, wiped them down and gave them a good scrub, and then applied the sealant. 


It looks almost like it did when we moved in. 


KitchenAid mixer? Check. Daisies? Check. Toaster oven? Yep. Crock pot? Mmhmm. Wine? Check! 


The lucky winner that Richard chose for sealing the lovely countertops. 

Wednesday, September 10, 2014

Better Board & Batten

When we originally put up our board and batten, I knew that I wanted to add more details to it further down the road. We talked about adding a narrow shelf along the top piece (maybe to rest pictures on like this), and we talked about adding hooks (like this) once there are kids and kids' coats and kids' backpacks in the picture. 

I've always loved the look of bead board with the board and batten and thought about adding that detail further down the road. I knew that it would be a decent-sized undertaking and would involve a lot of measuring and cutting and priming and painting. 

Then, on one of our many Lowe's trips, I saw this beauty: Allen & Roth bead board wallpaper


Alas! I could use pre-pasted, easy-to-apply wallpaper instead of installing actual bead board. It was the same brand and type of wallpaper that I used on the stair fronts when we redid the stairs. Of course, this didn't end up being as easy as the stair fronts because those pieces were much, much smaller than the five-foot portions of wall that I covered with faux bead board. 

So, for the actual application, I measured (read: eyeballed) the first piece and cut. Well, it ended up being too short on one end. So then I just made sure each of the four other pieces (to ACTUALLY be used on the wall) were all longer than the first (incorrect-length) piece. The worked out pretty well. 


The instructions include a couple of steps about finding and marking a plumb line. I had a nice, straight line for each section of the wall though, so, really, Richard had already done that work for me. So I didn't worry about making sure each panel lined up to the one before -- I just made sure that each piece was flush against the board that marked the outline of each section. 

Because I didn't measure exactly and because I would be able to realign starting in each section, I used the right side of the section to line up each piece and left it a little bit long on the top and the bottom. After I smoothed the piece down and wiped off the excess glue, I used a sharp craft knife to trim the extra parts off of the top and the bottom. 

I worked with one piece at a time and followed this routine: soak the piece in water for 30 seconds, lay it out glue-side up and allow the glue to "set" for five minutes, apply and line up against the board on the wall, smooth out the air bubbles and excess glue (I used a hand towel for this part to get a smoother and more uniform pressure), sit back and prepare to do it again. 


This was the first piece. After this one, I laid down multiple towels to allow for water and glue drippage. 

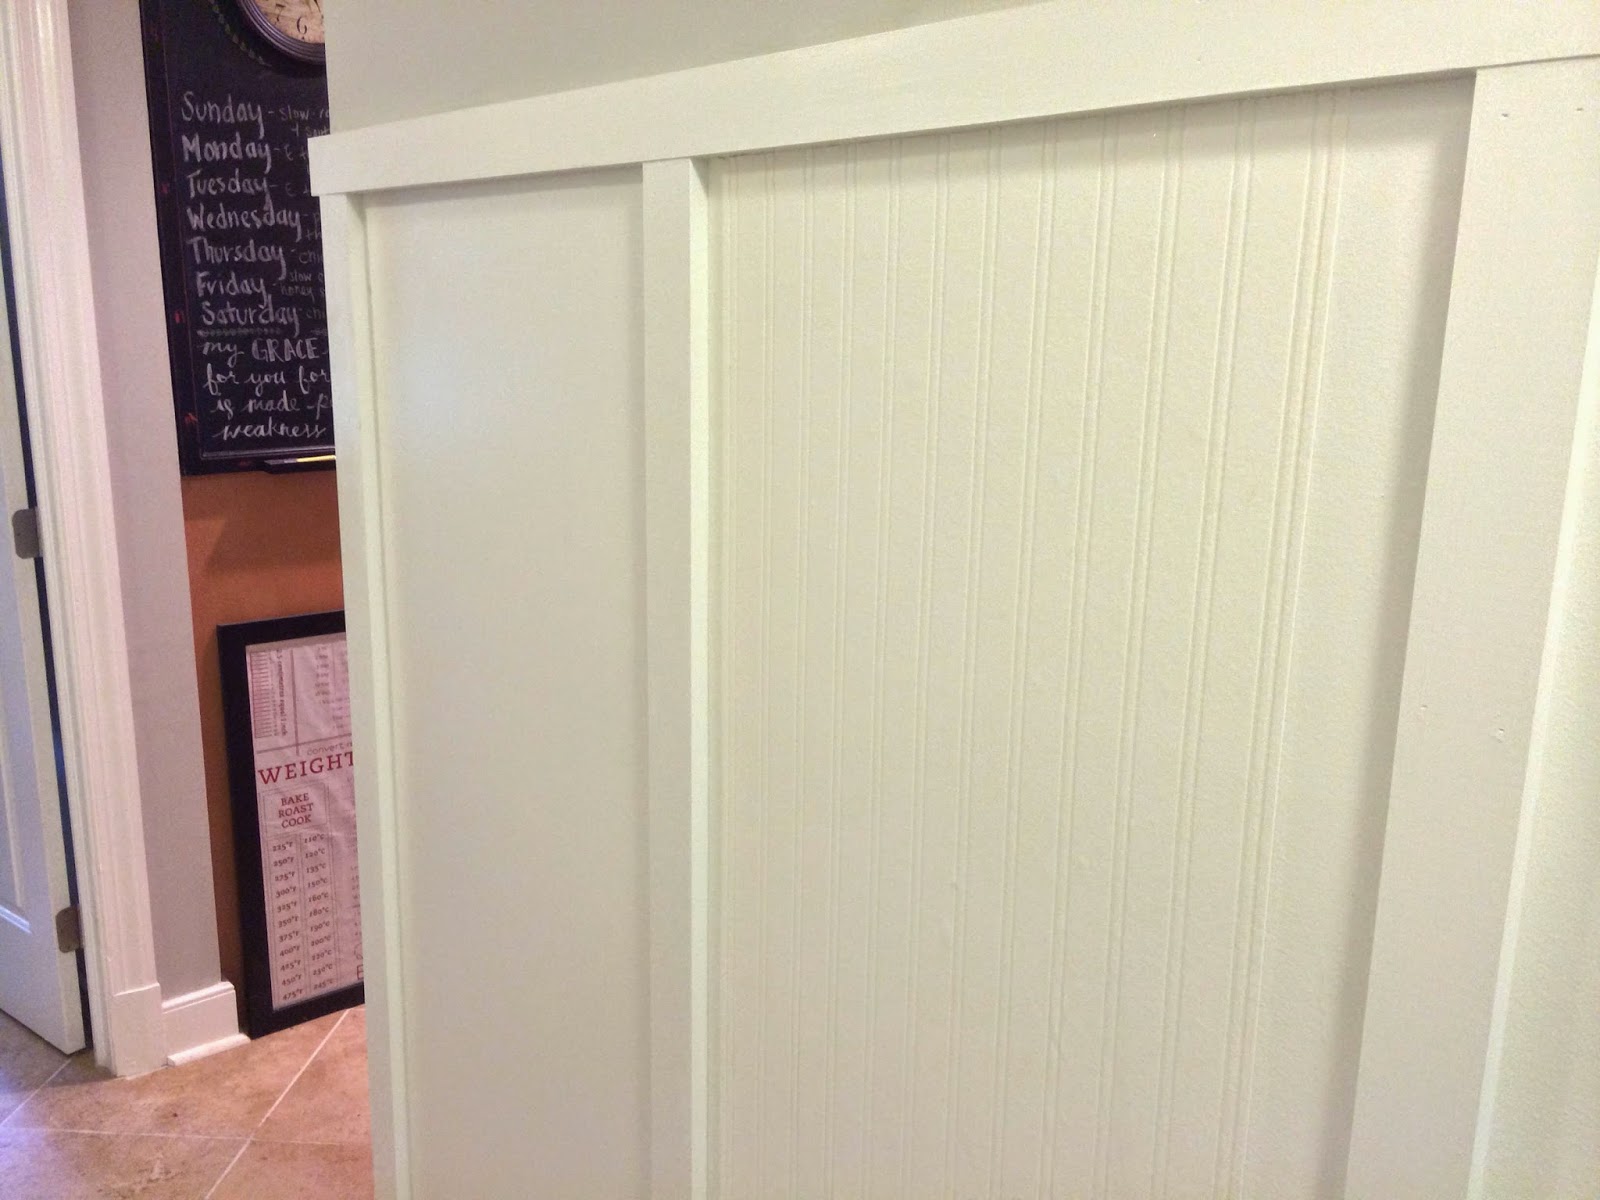
I knew that the width of each piece would almost cover each entire section of the wall, so I was prepared to have a gap of space left over after each main panel of wallpaper. I made sure to use the edge pieces to fill in those gaps so that I would have a definitely straight edge to line up. 


See how it's alllllmost wide enough to cover the entire section? 

And here is the before and after: 


Monday, September 8, 2014

The Nest

I have a big master list of plans that we have for our house. It's a (not very complicated) Excel file that tracks all of the rooms in our house as well as our yard. I have plans for what we want to get done, and those plans usually become a little more detailed and concrete the closer we come to being ready for that specific project. 

For example, for each room, I have one of the tasks listed as painting the walls. For most of the rooms, we don't even have the paint color chosen, but for some we at least have an idea of the color palette we're thinking about. 

So, all of that to say that one of the things that I had on that list from the very beginning was The Nest thermostat. I had read up about it and knew that I loved the idea of it. It's remotely controllable via our phones which is really nice. But the thing that I really love about it, is the electricity-saving capability. I've read that it can pay for itself in less than a year in energy savings. 

Our energy costs aren't outrageous or anything, but we know our 25-year-old house could certainly be more energy efficient. Richard has talked about wanting to replace the windows, but there are something like 36 of them in the house (I counted back when we moved in, you know, when we were rushing to get blinds for all of our naked windows). So the cost of replacing the windows is something that we would tackle further down the road, but wasn't something on our horizon for anytime soon. 

Well, enter the upstairs thermostat. It died. One night, the display screen just stopped working. We weren't sure where the temperature was set and if it was even on or not. Richard disassembled it, messed with the electronics behind the front panel, and got it working again. Then the next morning, we woke up to a 65-degree house. Which was not the temperature that we set. 

Richard finally acquiesced and bought The Nest. He was hesitant because of the cost (it's not an inexpensive thermostat), but he changed his mind pretty quickly. He loves it. He now wants to replace the downstairs (perfectly functional) thermostat with a Nest thermostat as well.  


The display that shows on the app when it's first opened. It shows the current temperature that is set for the upstairs. If we increase the temperature (at this point in the year), a little green leaf shows up to show that we are saving energy (and moneys!). 


All of our options for checking on and changing things remotely through the app

Our brand new Nest! 


Friday, September 5, 2014

Labor Day Weekend

This past weekend was so wonderful. I was lucky enough to get Friday off as well, so I had a glorious, four-day weekend. 

I spent Friday running a bunch of errands and cleaning up the house. It's so nice to have a day to just get everything done -- especially when it's a weekday, and you don't have to worry about the Saturday crowds. 

On Saturday, I met five of my wonderful friends at New Kent Winery. I love that place, and I love their wines. We had all packed lunches, so after the wine tasting, we sat out on the porch and ate lunch and drank wine. 
After New Kent, we drove back to Richmond and then reconvened at my house for an evening of cooking together. 

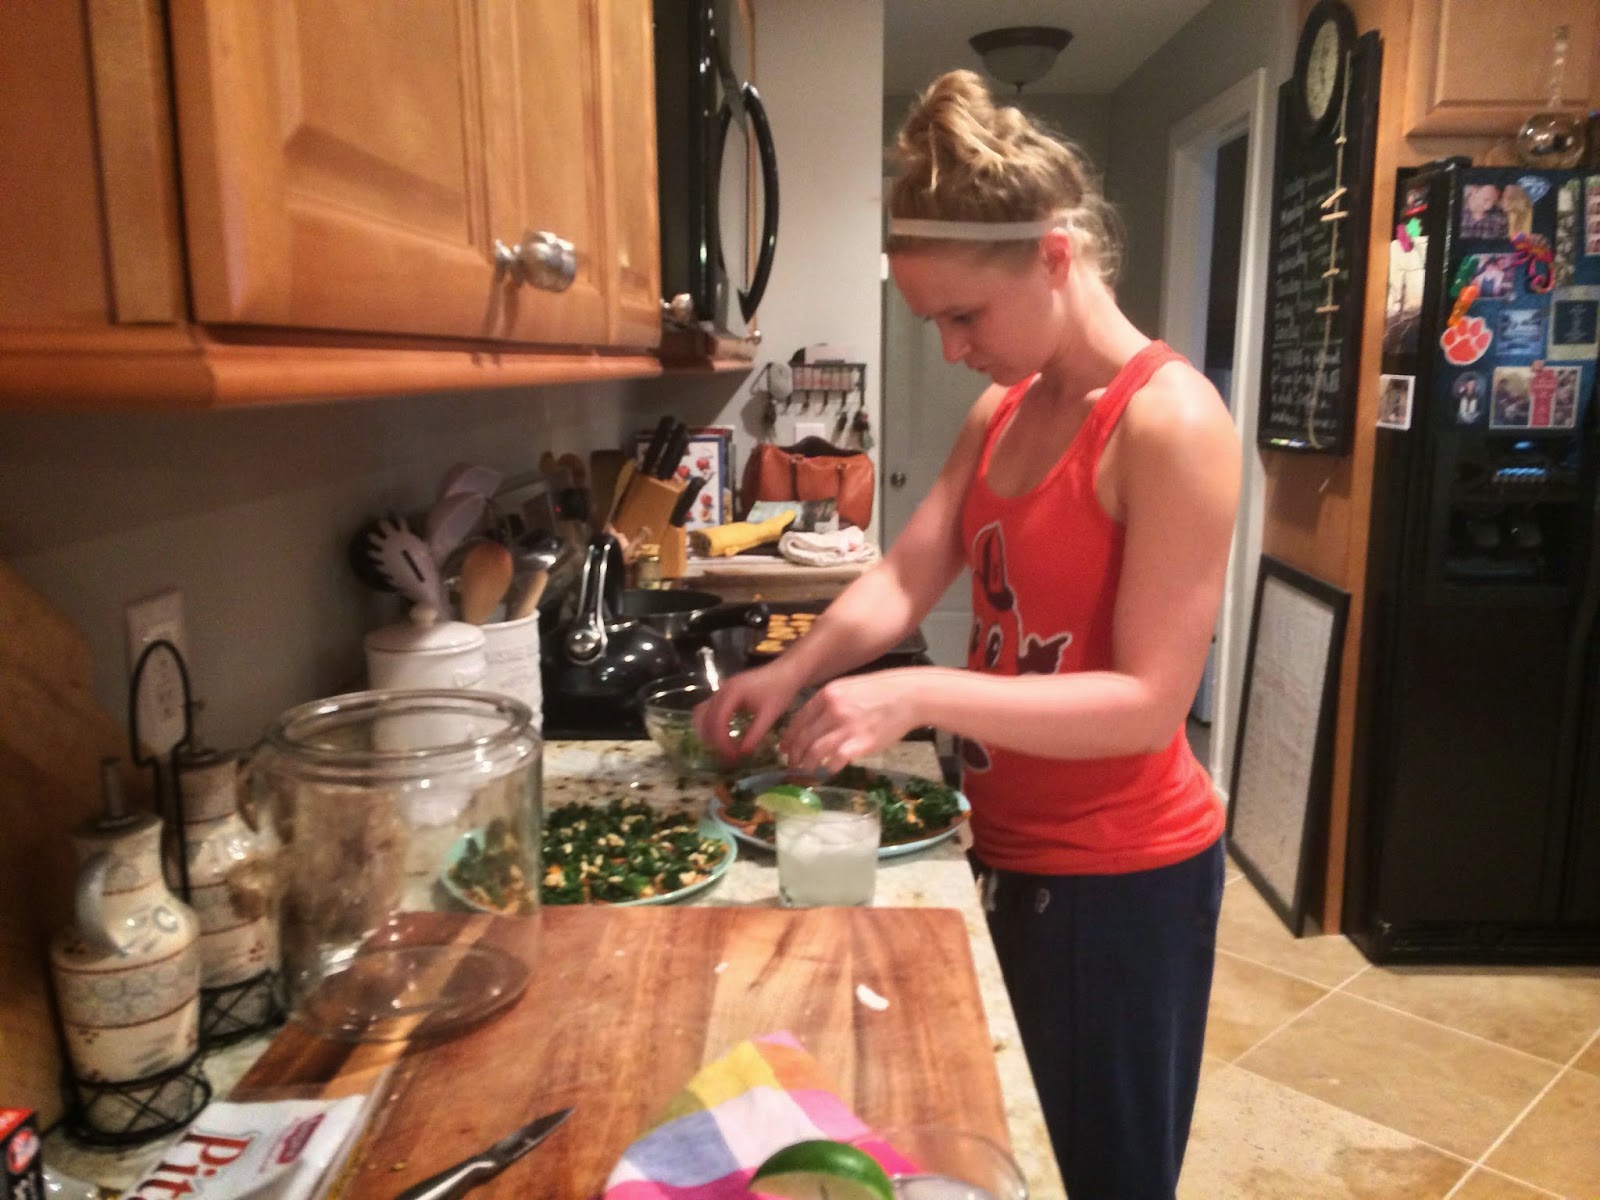
Heather and Meagan picked a delicious menu for us, and we all worked on various parts of the meal and then sat down together at the farmhouse table. 

The menu:

Appetizers
Asparagus wrapped in Phyllo dough with a lemon garlic aioli

Dinner
Grilled Flank Steak with tomatoes, red onion and balsamic

Fresh Panzanella salad 

Dessert 
Peach dumplings with a bourbon hard sauce and vanilla ice cream 


We also had a sweet potato appetizer that had sautéed kale, pine nuts, and a roasted red pepper aioli, but I can't find that recipe. 

It was all delicious!  

We were all cooking (six of us in the kitchen!), but I somehow didn't snap a photo of the full kitchen and all of the cooks. 

Part of our delicious spread

Flank steak and bruschetta topping

Fresh panzanella salad
And on Sunday, we went to the Rappahannock river for a nice visit with my Aunt Cherryl and some family friends. Lola absolutely loves the river, and this time, she discovered that she can swim. Richard was throwing some sticks for another dog on the beach, and Lola decided that she wanted in on the fetch game also. So, she swam and fetched and swam and fetched. And then shook off the river water onto all of us and then rolled around in the sand. 

Mmm, wet, sandy, river dog. 


Corn-hole tournament! There were six sets of boards going at the beginning of the tournament. 

The other half of the corn-hole tournament participants