I've always loved the look of bead board with the board and batten and thought about adding that detail further down the road. I knew that it would be a decent-sized undertaking and would involve a lot of measuring and cutting and priming and painting.
Then, on one of our many Lowe's trips, I saw this beauty: Allen & Roth bead board wallpaper.

Alas! I could use pre-pasted, easy-to-apply wallpaper instead of installing actual bead board. It was the same brand and type of wallpaper that I used on the stair fronts when we redid the stairs. Of course, this didn't end up being as easy as the stair fronts because those pieces were much, much smaller than the five-foot portions of wall that I covered with faux bead board.
So, for the actual application, I measured (read: eyeballed) the first piece and cut. Well, it ended up being too short on one end. So then I just made sure each of the four other pieces (to ACTUALLY be used on the wall) were all longer than the first (incorrect-length) piece. The worked out pretty well.

The instructions include a couple of steps about finding and marking a plumb line. I had a nice, straight line for each section of the wall though, so, really, Richard had already done that work for me. So I didn't worry about making sure each panel lined up to the one before -- I just made sure that each piece was flush against the board that marked the outline of each section.
Because I didn't measure exactly and because I would be able to realign starting in each section, I used the right side of the section to line up each piece and left it a little bit long on the top and the bottom. After I smoothed the piece down and wiped off the excess glue, I used a sharp craft knife to trim the extra parts off of the top and the bottom.
I worked with one piece at a time and followed this routine: soak the piece in water for 30 seconds, lay it out glue-side up and allow the glue to "set" for five minutes, apply and line up against the board on the wall, smooth out the air bubbles and excess glue (I used a hand towel for this part to get a smoother and more uniform pressure), sit back and prepare to do it again.
 |
| This was the first piece. After this one, I laid down multiple towels to allow for water and glue drippage. |
I knew that the width of each piece would almost cover each entire section of the wall, so I was prepared to have a gap of space left over after each main panel of wallpaper. I made sure to use the edge pieces to fill in those gaps so that I would have a definitely straight edge to line up.
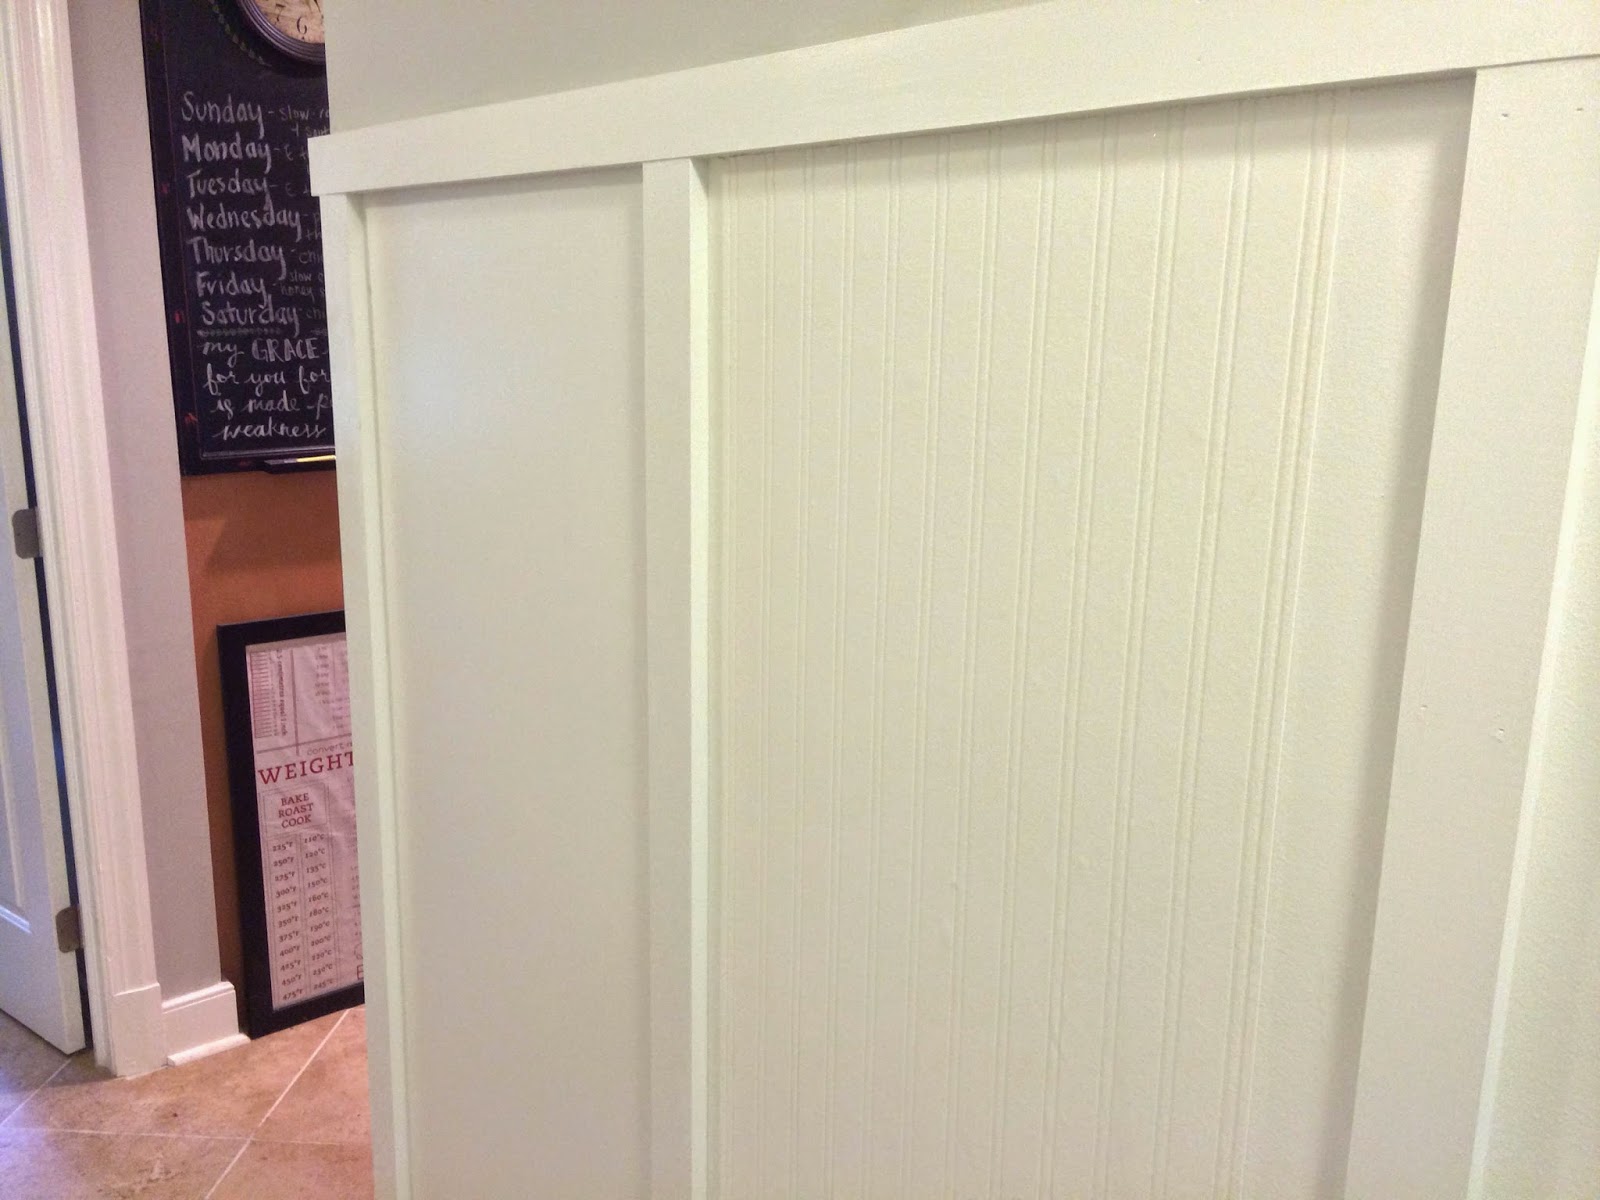 |
| See how it's alllllmost wide enough to cover the entire section? |
And here is the before and after:


Awesome idea! It looks fantastic..now I know what I'm doing tomorrow!!! Thanks for sharing..
ReplyDelete